STEALTHY SUPPORT
Let’s get you moving.
Follow along on your iPhone, or ask for help with the step you’re on.
Real iPhone demo · 18 sec · Pause to follow along
Open video in a new tab: Turn on Developer ModeFOLLOW ALONG
- Search for Developer Mode in Settings and open the result.
- If the switch is off, turn it on. Choose Restart if asked.
- After restarting, unlock and tap Enable / Turn On. Confirm on your iPhone.
- Return to Stealthy on your computer and continue setup.
Missing the setting? Keep the iPhone unlocked and connected by USB. In desktop setup, choose “Don’t see Developer Mode?” → “Show Developer Mode”, then reopen Settings.
Installing for the first time?
Open Stealthy on your computer → iPhone setup → Install on iPhone. Already installed? Check Settings → App refresh in Stealthy on your iPhone.
Your Mac may ask for permission
When you connect, macOS may show “osascript wants to make changes.” Enter your Mac administrator password in that system window. This is separate from Apple Account sign-in. If you cancelled, return to Connect and retry.
Reconnect after an update or reinstall
Use Connect / Reconnect in the same setup. Pairing updates automatically when needed. Restore an active desktop session first.
STEP 1 OF 3
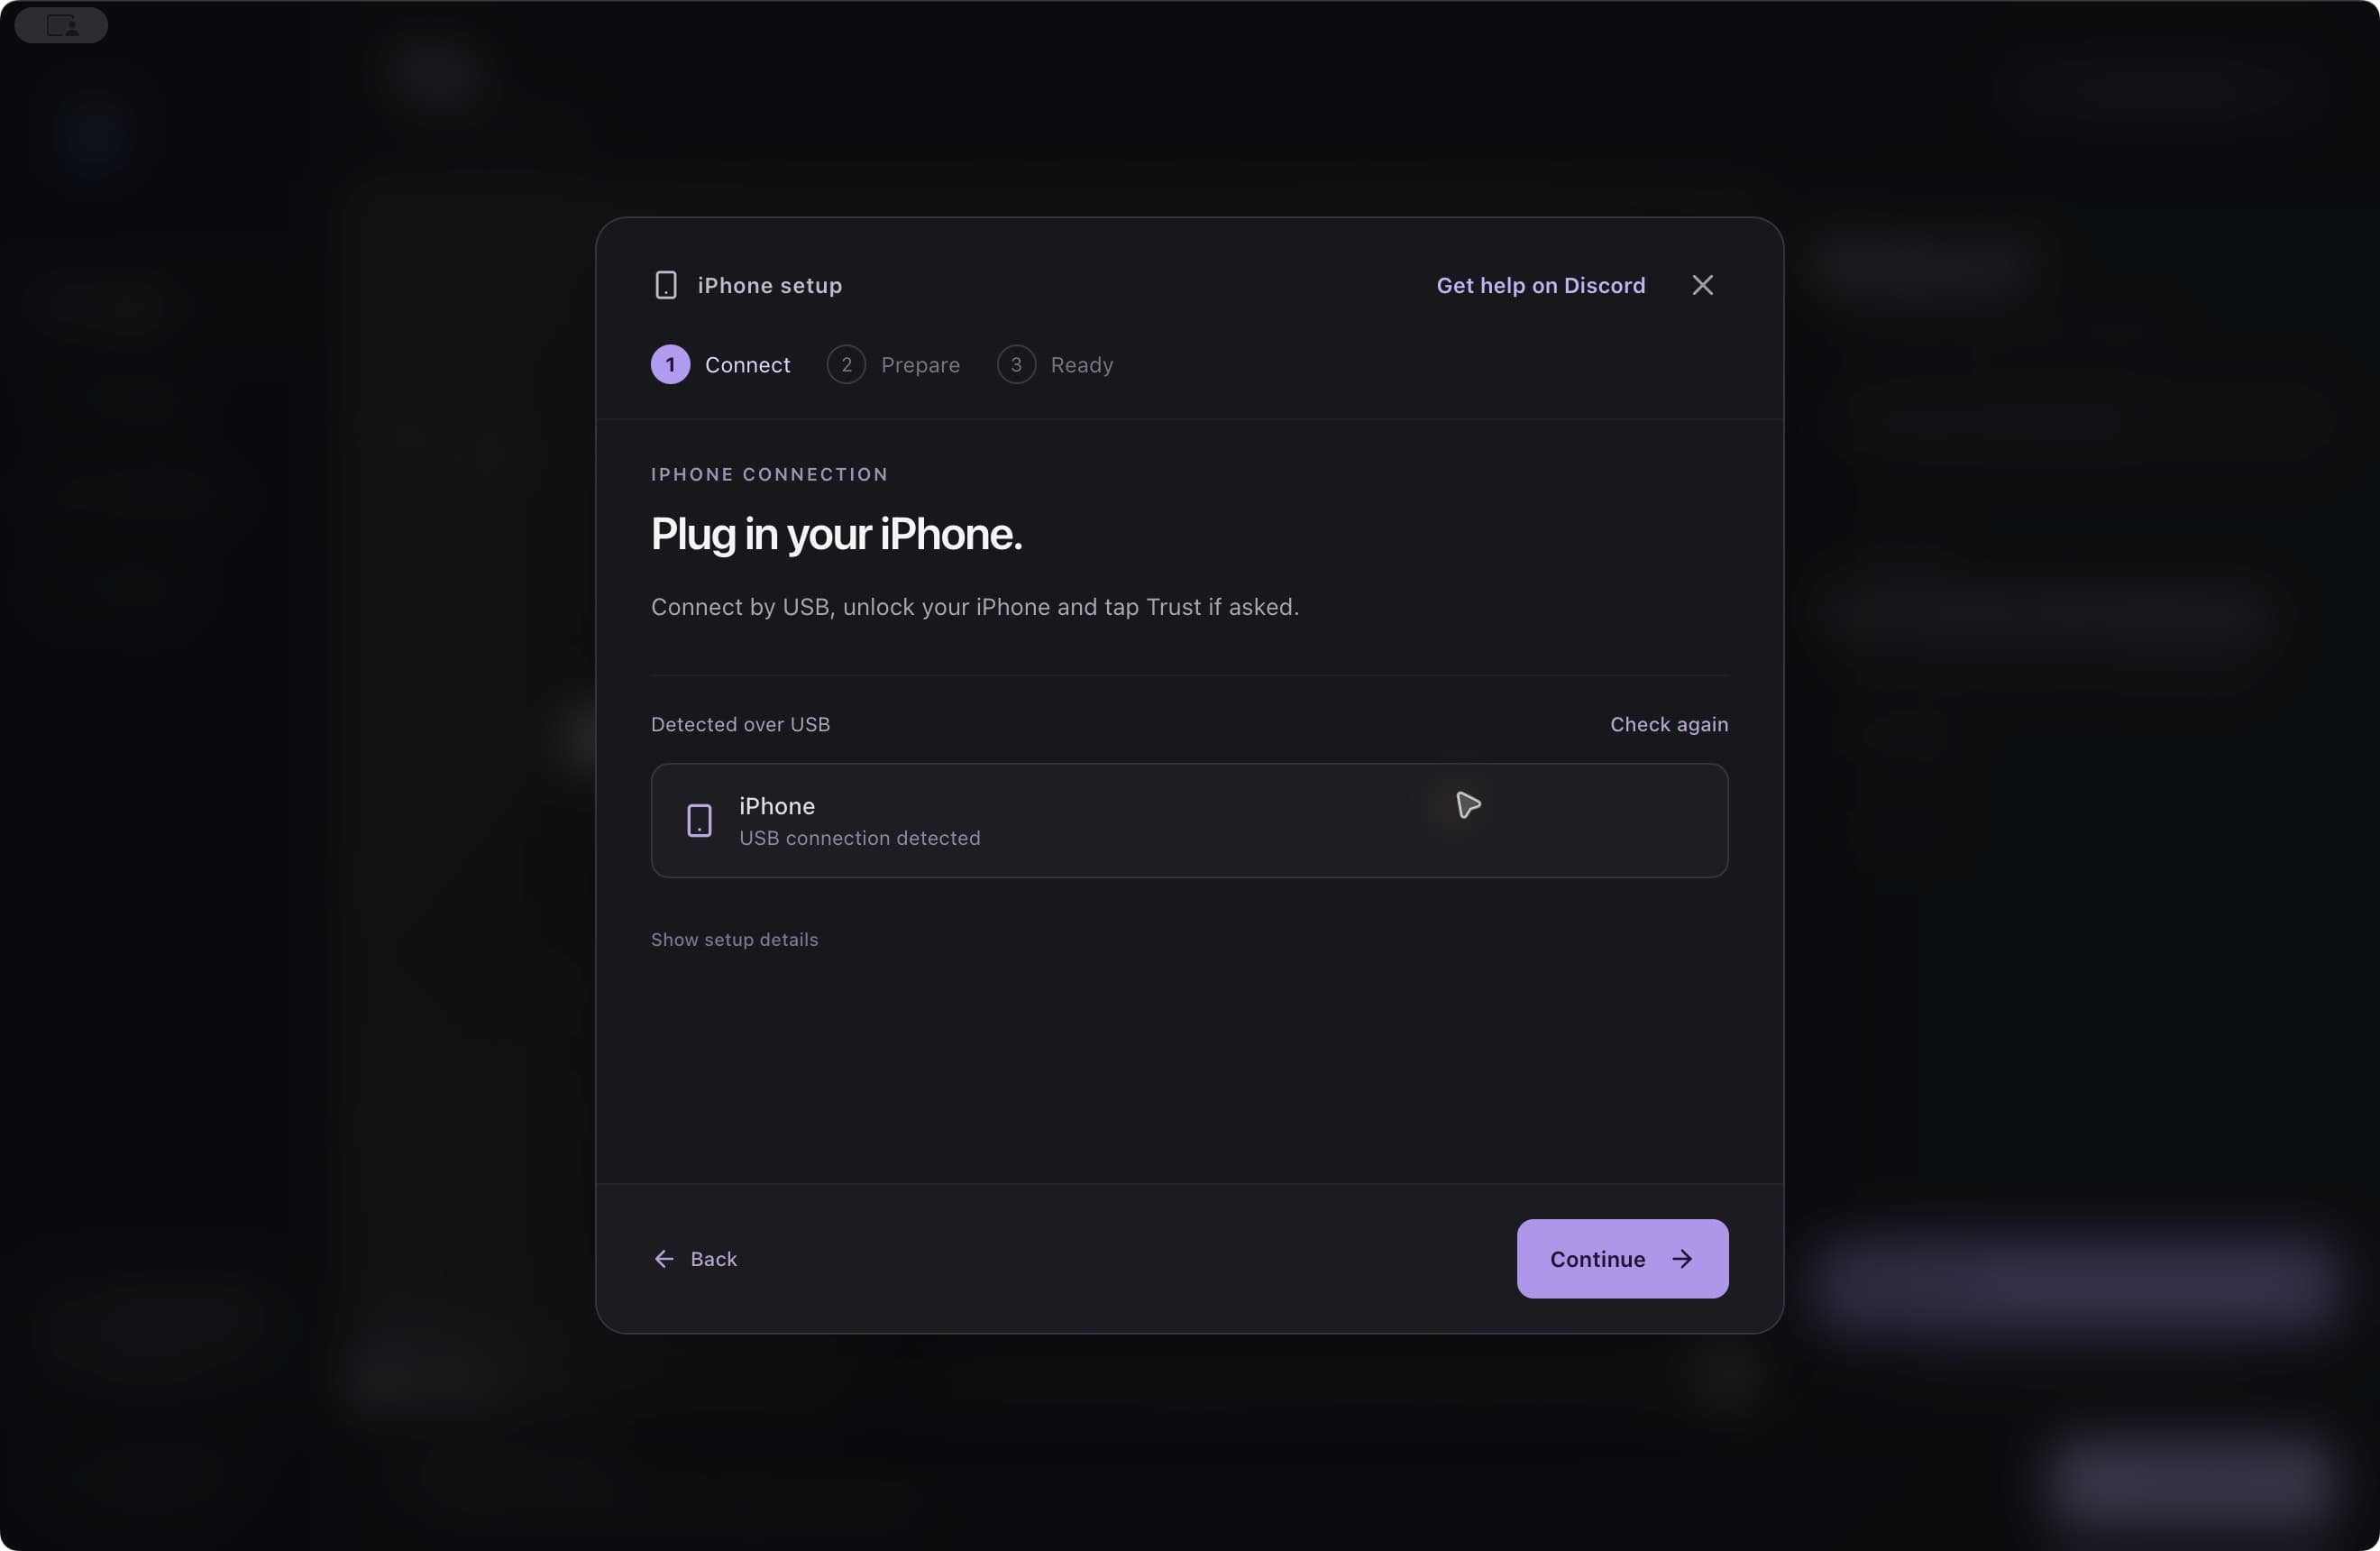
Plug in and unlock
Connect this iPhone by USB. Tap Trust on the phone if asked.
Automatic app refresh needs attention
Automatic refresh is on by default. Keep Wi-Fi and LocalDevVPN on and open Stealthy occasionally; iOS chooses when background refresh runs.
In iPhone Stealthy → Settings → App refresh, follow any sign-in or connection prompt, then choose Refresh now. Enable Refresh alerts for reminders before expiry or when sign-in needs attention.
If refresh says Finish on Home Screen, return to the Home Screen, then reopen Stealthy to confirm completion.
The iPhone app no longer opens
If signing expired and iOS says Stealthy is no longer available, connect by USB and choose desktop iPhone setup → Refresh iPhone app. Use the same Apple Account to preserve app data. This refreshes signing; it does not buy or renew a subscription.
If iPhone Settings asks you to trust the developer profile, open Settings → General → VPN & Device Management, then tap Trust.
Import a pairing file manually
Only use this if automatic Connect could not finish.
- In desktop setup → Advanced: manual pairing file, choose Create and export pairing file.
- Send that new .plist privately to the same iPhone.
- In Stealthy → Connection, choose Replace pairing file. Wait for validation, then retry.
Use the new file, not an old copy from Files. Never send pairing files to support.
Access, subscriptions and deleting an account
Sign in with the email used for your subscription. If access has not appeared, open Account and refresh access before starting another checkout.
Manage billing lets you update payment details, change a plan or cancel. Account deletion lets you cancel billing or explicitly keep it; review the next charge and confirmation before deleting.
If you keep billing after deletion, use independent billing management with the same email to manage or cancel the subscription.
Restore your normal location
Choose Restore location or Stop & restore. At the end of a route, its last point can stay held until you restore.
If the connection was interrupted, reconnect and retry. Wait for confirmed restoration. Restore remains available without a subscription.
Keep or clear your saved places
Places, routes and schedules stay locally on each device. Signing in elsewhere does not copy them. Use the app’s controls to clear recents or delete saved data; account deletion does not remove this local data.
Contact
For support, share your app version and the exact error. Keep passwords, sign-in codes, payment details, precise locations and pairing files private.